How to Change a Bicycle Tube
Share
Required Tools
If your wheel is not equipped with a quick-release mechanism, you’ll need an allen wrench to help you remove it (usually 4-5-6 mm or a 15 mm wrench for bolts)
Before You Start
Purchase a new bicycle tube. We recommend placing your bicycle upside down on a work stand to stabilize it while you work.
Remove the Wheel From the Frame
For the rear wheel:
- Move the chain to the smallest gear
- Release the brakes
- Unscrew the quick-release mechanism
- Pull the derailleur toward the rear, then remove the wheel
For the front wheel:
- Release the brakes
- Unscrew the quick-release mechanism
- Remove the wheel
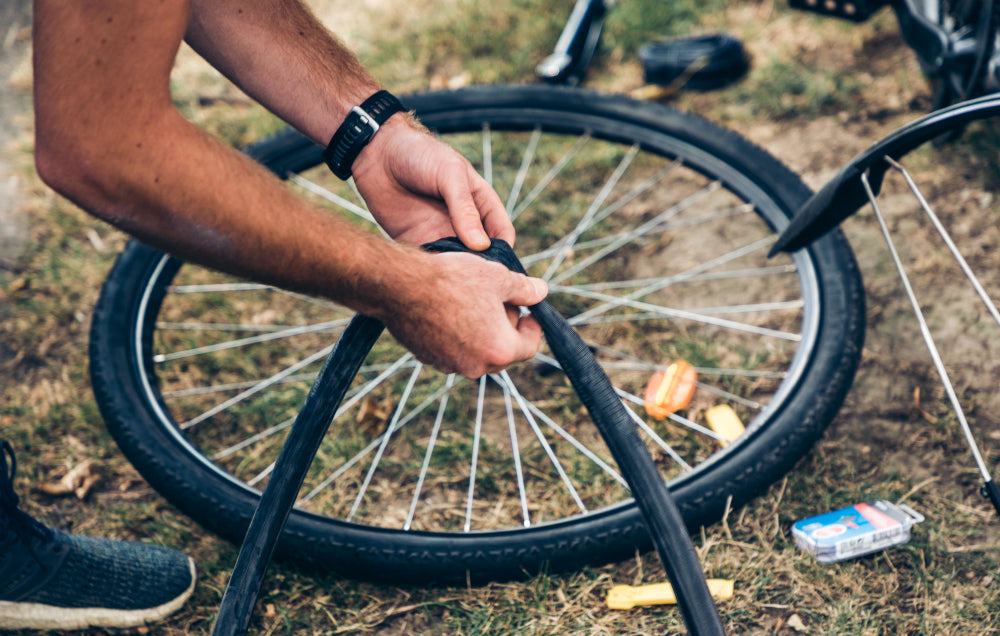
Detach the Tire From the Rim and Remove the Bicycle Tube
- Unscrew the valve to deflate the bicycle tube
- Insert tire levers between the edge of the rim and tire
- Slide the levers in opposite directions to detach the tire from the rim
- Remove the bicycle tube
- Carefully inspect the rim strip to check its condition (smooth and centred). A poorly positioned rim strip risks causing a flat.
Insert a New Bicycle Tube and Reinstall the Tire
- Partially inflate (to approximately 30 percent of its capacity) the new bicycle tube to its initial shape
- Very carefully (to avoid injuring yourself), check the inside of the tire for debris
- Slip the valve through the hole in the rim and insert the bicycle tube into the tire
- Put the tire back on the wheel, making sure the edges slip under the rim, then inflate the bicycle tube, but without surpassing the recommended maximum pressure (written in small letters on the sides of the tire)
- Replace the wheel and reinstall the brakes
Tip: Check your tire pressure as regularly as possible to prevent diminished performance and premature wear caused by over-inflation.


