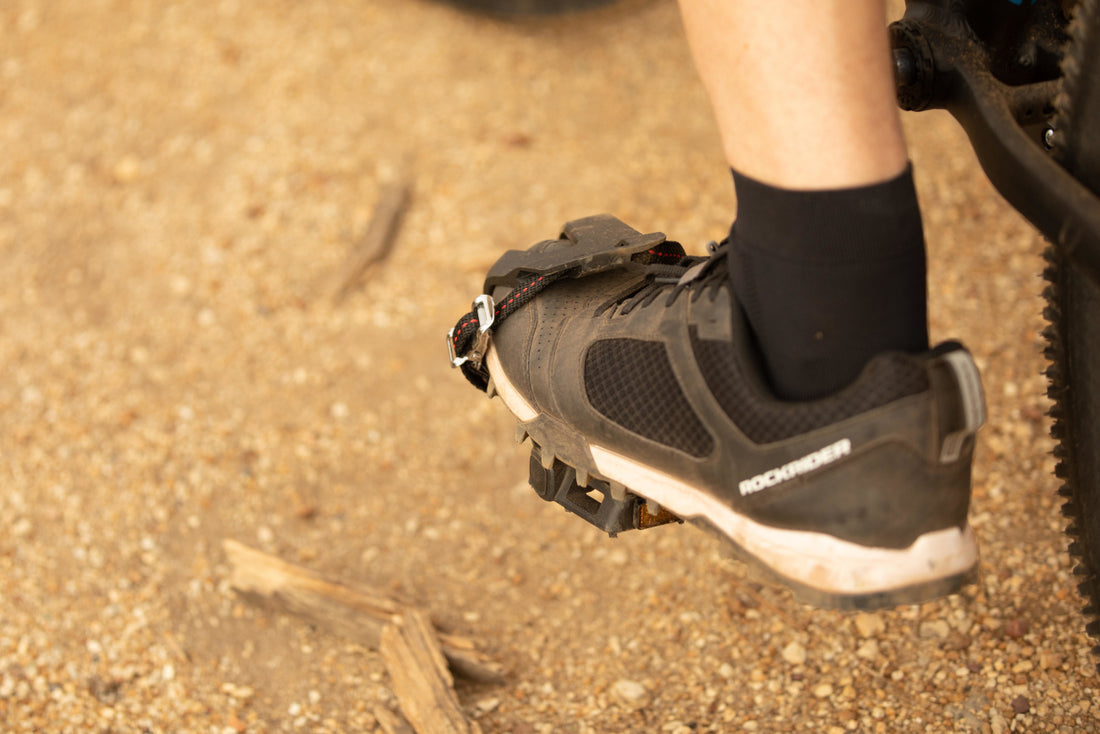
Pedal type
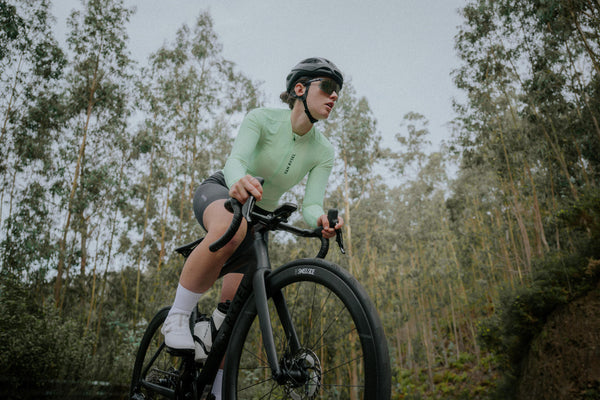
There are two types of clipless pedals in general: (1) mountain bike and (2) road bike!
For most beginners, we recommend starting out with mountain bike pedals regardless of your bicycle type or where you're cycling as road bike pedals are a lot stiffer and much harder to clip in and out of.
However, if you are used to sports with foot bindings like skiing or wakeboarding perhaps you can start out with road pedals.
Whether you've just started cycling, or have been doing so for some time, you're probably aware of cycling-specific shoes - also known informally as "SPD" shoes.
Why do cyclists wear them? Generally, cycling shoes help transfer power to pedals more efficiently. In the case of mountain biking, they also prevent your feet from bouncing off in very rough terrain.
So, what do you think? Are clipless shoes suitable for you?
Shoe type
Once you've decided on the clipless system of your choice, make sure to buy a shoe that matches.
If you've decided to go with SPD or mountain bike/touring pedals, make sure to buy the appropriate shoes – you can tell by the mounting system at the sole which will have two holes.
SPD-SL or road shoes will have three holes spaced out triangularly. They also tend to have a smooth, featureless sole as compared to mountain bike or touring shoes, which usually have some rubber lugs for off-the-bike grip.
Hopefully, you're a little more familiar with the concept of clipless pedals by now and are ready to give it a try! Don't forget that practice makes perfect so just keep practicing in a suitable environment until you're comfortable with it. You will notice a big improvement in efficiency and a feeling of connectedness with the bike once you are used to it.
Cleat installation
Pedals are normally sold with one pair of cleats.
There are a few considerations about cleat placement before bolting them onto your shoes.
You will notice that the bolt holes are not fixed in place and can be adjusted slightly fore-and-aft as well as side-to-side, giving you an infinite possibility of positions and angles within the lateral plane of the sole.
In terms of fore-and-aft placement, try to have the cleat just under the ball of your foot.
The next consideration will be the lateral angle. Look down at your feet when you pedal. Do your toes or heels tend to stick out? Or are your feet perfectly parallel to the bike?
Angle the cleat accordingly to offer you the most natural foot position and bolt it down.
Equipment
You will need the following equipment before getting started:
- Clipless pedal (SPD or SPD-SL, Look, etc)
- Cleat (normally included with the pedal)
- Allen keys
Clipping out and tension adjustment
To release your shoe from the pedal, twist your heel outwards until you hear a click.
If you're not confident about clipping out on time, you can adjust the tension of the spring in the pedal to make it easier.
This is usually done with an Allen key.
Try to find a grassy area to practice clipping in and out to gain confidence before venturing out onto the roads!
Clipping in
It's best to try clipping in for the first time next to a sturdy wall! Alternatively, get a friend to help you. The best option would be a bike trainer, if you have one.
Have the crank arm of the side you are clipping in first in the 6 o'clock position and start to place your foot on the pedal.
The trick is to point your toes downward so the front of the cleat engages in the recess at the front of the pedal.
Next, firmly push down with the ball of your foot until you hear a firm 'click' – this tells you that you are fully clipped in.
