Teaching Your Child to Ride a Scooter
Share
Equipment
Scooter: For young children between 2'8'' - 4', we’d normally recommend a 3-wheeled scooter. We highly recommend that you have a scooter yourself so you can teach your child by example.
Helmet: Safety first! We strongly recommend a helmet for your child. To offer the best all-round protection, make sure the helmet has full coverage for the back of the head as well.
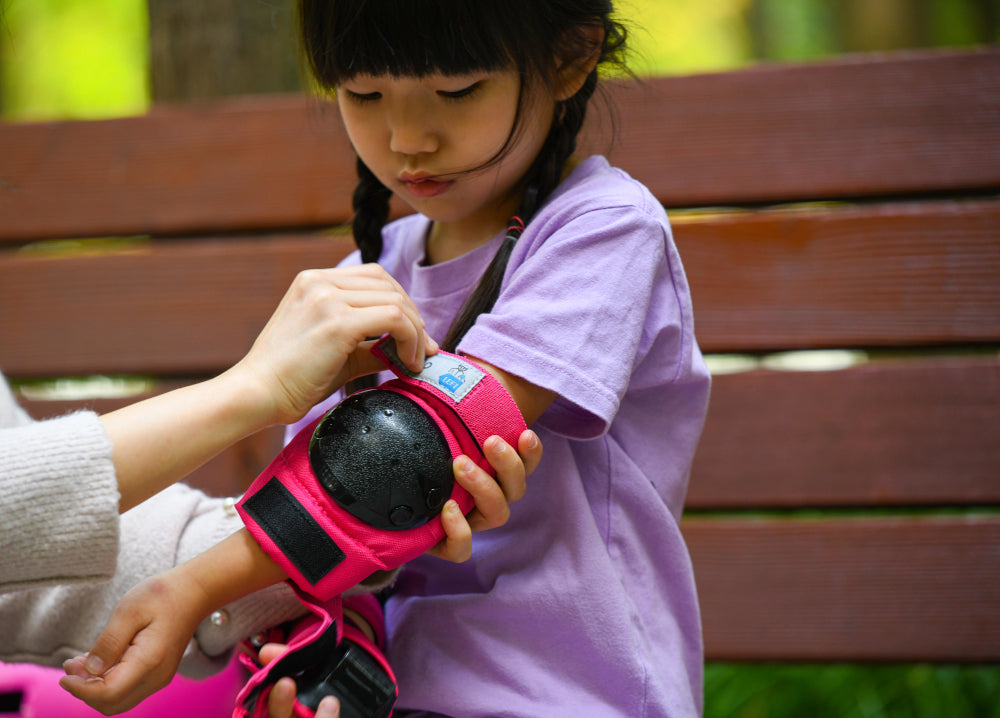
Pads: Kids will always be kids, so do expect the occasional fall here and there. Knee and elbow pads will help to take the sting out of the occasional scrape.
Cones: For the more advanced or ambitious kids, marker cones will be useful for honing their skills. Soft cones are important so they don’t cause your child to go off-balance in the event of a collision
Find a Suitable Place
Adventurous kids (and parents!) may consider going to the playground, which we recommend over void decks and pavements, as the rubber flooring will help cushion any falls. Otherwise, the safest place is usually indoors in your own home. Make sure to clear away any furniture with sharp edges. If your home has a split-level floor, block off the entrance to the lower level. If you’re lucky enough to have a driveway, make sure its not sloping.
Practice Standing First
Before they can learn to start moving, its better to let them get familiar with the feeling of standing on the scooter first.
Have your child grab the handlebars and stand on the platform.
Keep a firm grip on the scooter so it doesn’t roll. Let them experiment with the steering.
Start Moving
Slowly, pull the scooter along with you at a comfortable pace for your child.
Stay in front and keep within sight to reassure them. At this point, they are probably quite excited to be moving!
If they’re comfortable, you may change position and push them from behind, gently. This will give them a full field of vision and simulate scooting on their own.
Lead by Example
For your kid's first step into self-propulsion, we recommend that you show them by example.
Get on your scooter with one leg on the platform, and gently push off with the other.
Chances are, your child will already have started trying!
Learn To Stop
Kids scooters like the three-wheeled B1 or B1 500 are designed not to go fast thanks to the type of bearings used in the wheels.
So there is no problem for the scooter to slowly come to a stop once your child stops pushing or kicking.
For faster kids, you may show them how to stop by gently pressing on the yellow fender brake with the same foot they used for pushing.
Faster, two-wheeled scooters also come with a handlebar brake lever for more intuitive braking.
Obstacle Course
Once your child is comfortable with moving and stopping, and has had a few days practice, you may consider honing their skills with a simple obstacle course made from marker cones.
A simple course you can create is the “cone weave”. Place 6 to 10 cones in a straight line, about 4' apart. Have your child make S-turns, weaving left and right around the cones.
As they get more and more comfortable with turning, you may consider shortening the distance to 3'.


